
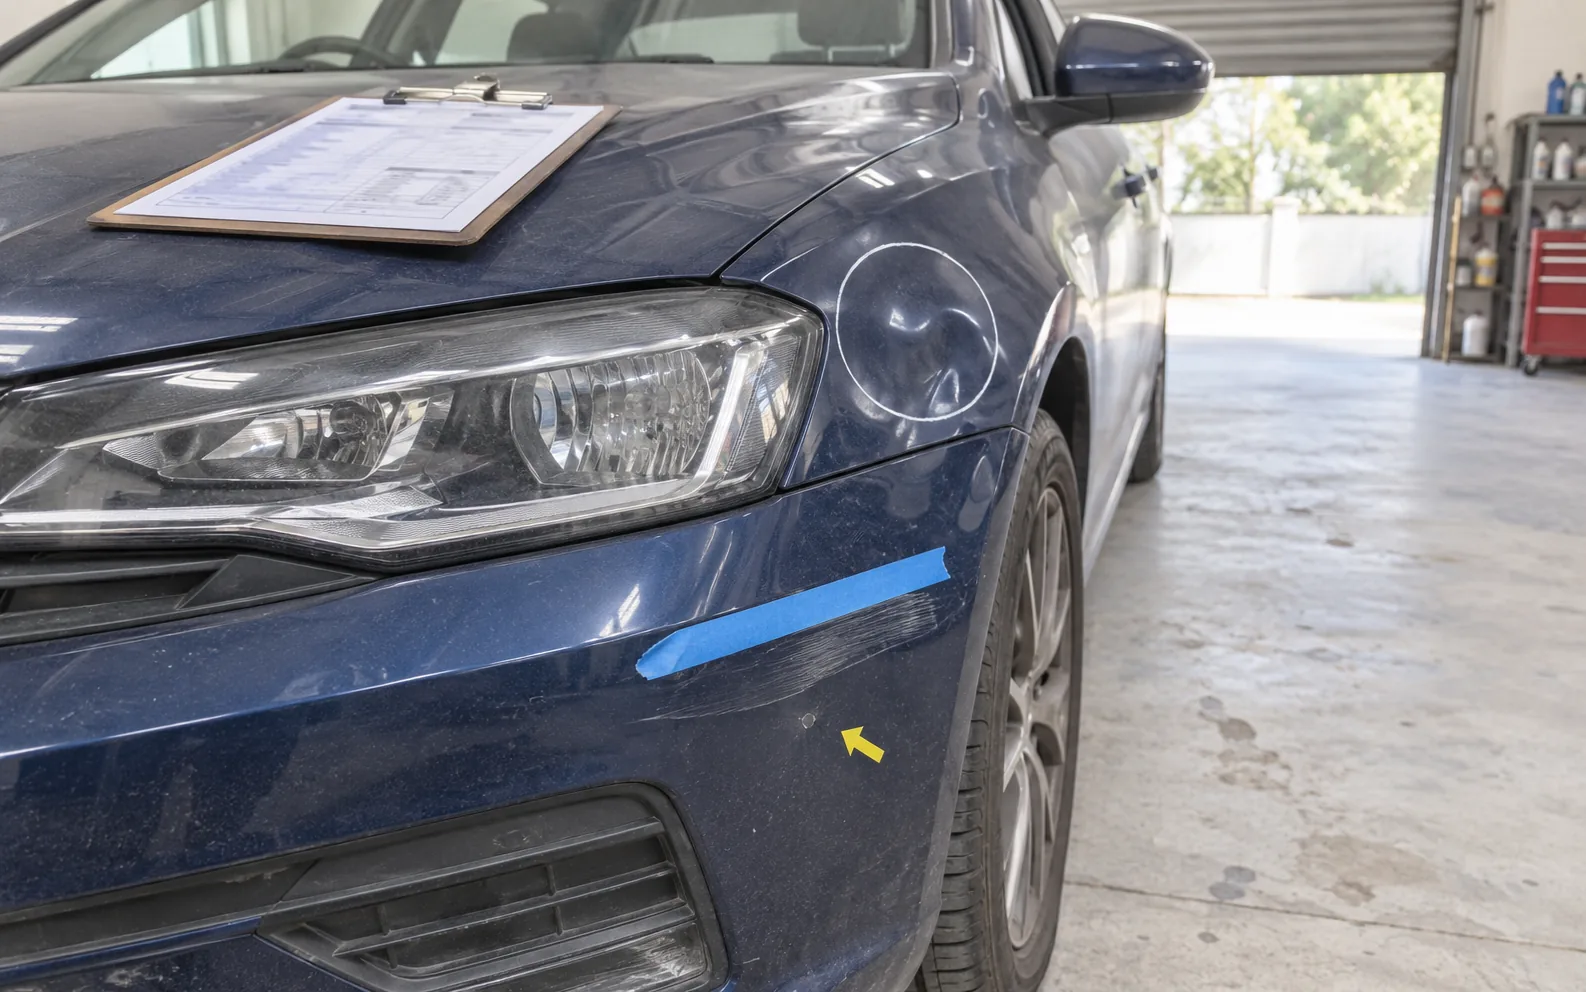
Why repair costs decide whether a car is a good deal
Two identical cars at the same price are not the same deal if one needs two tyres, a headlight and a bumper repaint. Those three jobs can add up to the difference between a fair price and an expensive one, and none of them show up in the MOT history until the car fails on them.
Most buyers notice the damage. Few can put a number on it standing on a driveway, and the seller certainly will not. That is the gap a repair estimate fills: it turns “a few scuffs” into pounds and hours you can take into the negotiation.
How a photo assessment works
The AnalyzeMyCar Visual Assessment is built around the same twelve photos for every car, taken on an ordinary phone.
Twelve photos, twelve views. Eight around the outside (front, rear, both sides and the four corners) plus the dashboard, the seats, the boot and the engine bay. The same twelve views every time, so nothing gets missed.
Each photo is checked first. The system confirms that the photo in the “rear left” slot really shows the rear left of a car. If you have put the wrong view in a slot, it tells you which view it thinks you uploaded so you can move it.
Damage is identified part by part. Scuffs, dents, cracked lights, kerbed wheels, worn tyres, torn seats, corrosion and visible leaks are picked out and tied to the panel or component they sit on.
Each item is costed. For every part you get an estimated part price in pounds, the labour hours a workshop would typically book, and the action required: replace, repair, inspect and advise, or clean and detail.
The list is prioritised. Safety and structural items first, cosmetic items last, so you can see at a glance what has to be fixed and what you can live with.
Why the photos are checked before anything else
What it can and can't see
Photos are honest about what is on the surface and silent about everything else. Knowing the boundary is what makes the estimate useful rather than misleading.
What photos show well
- Dents, scuffs, scratches and mismatched paint
- Cracked or misted lights and glass damage
- Kerbed alloys and visibly worn or mismatched tyres
- Torn, stained or heavily worn seats and trim
- Corrosion on visible panels and sills
- Obvious engine-bay issues: leaks, perished hoses, corroded terminals
What no photo can show
- Anything under the car or behind panels
- Mechanical wear: clutch, gearbox, suspension bushes
- Electrical faults that only show when driving
- Past accident repair that has been done well
- Damage hidden by dirt, wet paint or a dark garage
For the second column you still need a test drive and, for anything you are serious about, a mechanical inspection. Treat the photo estimate as the cosmetic and consumable part of the budget and keep a separate reserve for what the inspection finds.
Taking photos that give a useful result
Daylight, outdoors, dry car. Overcast daylight is best. Rain, puddles and a wet car hide scratches behind reflections, and a garage throws shadows that look like dents.
Whole panel in frame. Stand far enough back that the full side or full front fits in the shot with a little space around it. The corner views should show both the end and the side of the car.
Same distance all the way round. Walk a circle at roughly the same distance. It makes the views comparable and keeps panels in proportion.
Clean lens, steady hands. A smeared phone lens softens everything, and a soft photo loses the fine scratches that tell you about kerb strikes and careless parking.
Open things up for the interior shots. Boot fully open with the floor visible, bonnet up for the engine bay, dashboard photographed with the ignition on so warning lights show.
If you can't take the photos yourself
Reading the estimate
Here is the shape of what comes back.
| Part | What was found | Action | Parts & materials | Labour |
|---|---|---|---|---|
| Front bumper | Deep scuff on the near-side corner, paint broken | Repair and repaint | £45 | 2.5 h |
| Near-side rear alloy wheel | Kerb damage around the rim | Refurbish | £25 | 1.0 h |
| Front tyres | Outer edge wear, close to the limit | Replace | £180 | 0.5 h |
| Headlight (off side) | Misted lens, reduced output | Replace | £240 | 0.8 h |
| Driver's seat bolster | Split seam on the outer bolster | Repair | £20 | 1.0 h |
| Exhaust tips | Carbon build-up | Clean and detail | £10 | 0.25 h |
An illustrative estimate for a seven-year-old hatchback. Parts are typical retail prices, and repair lines show the materials they use (filler, paint, lacquer or a trim repair kit); labour is the time a workshop would normally book, which you multiply by the hourly rate of the garage you would actually use.
Three things to keep in mind. Parts prices are typical retail figures; a used or pattern part will be cheaper, a main-dealer part dearer. Labour is given in hours because rates vary so much: an independent garage and a franchised dealer can charge very different amounts for the same job, so multiply by the rate you would actually pay. And “inspect and advise” items are not costs yet; they are the things to ask a mechanic to look at.
Using it to negotiate, or to walk away
Add up the replace and repair lines at a realistic labour rate. That total is your opening position: either the seller fixes those items before you buy, or the price comes down by roughly that amount. Sellers argue with opinions, but they find it much harder to argue with a list that names the part and the job.
If the total is a large share of the asking price, or the list is dominated by safety items such as tyres and lights, that is the car telling you how it has been looked after. There are always other cars.
The Visual Assessment is an optional part of an AnalyzeMyCar report, alongside the MOT history, mileage readings, service records and valuation. Run the desk checks first, then take the twelve photos at the viewing. Our used car checklist covers the rest of the visit.